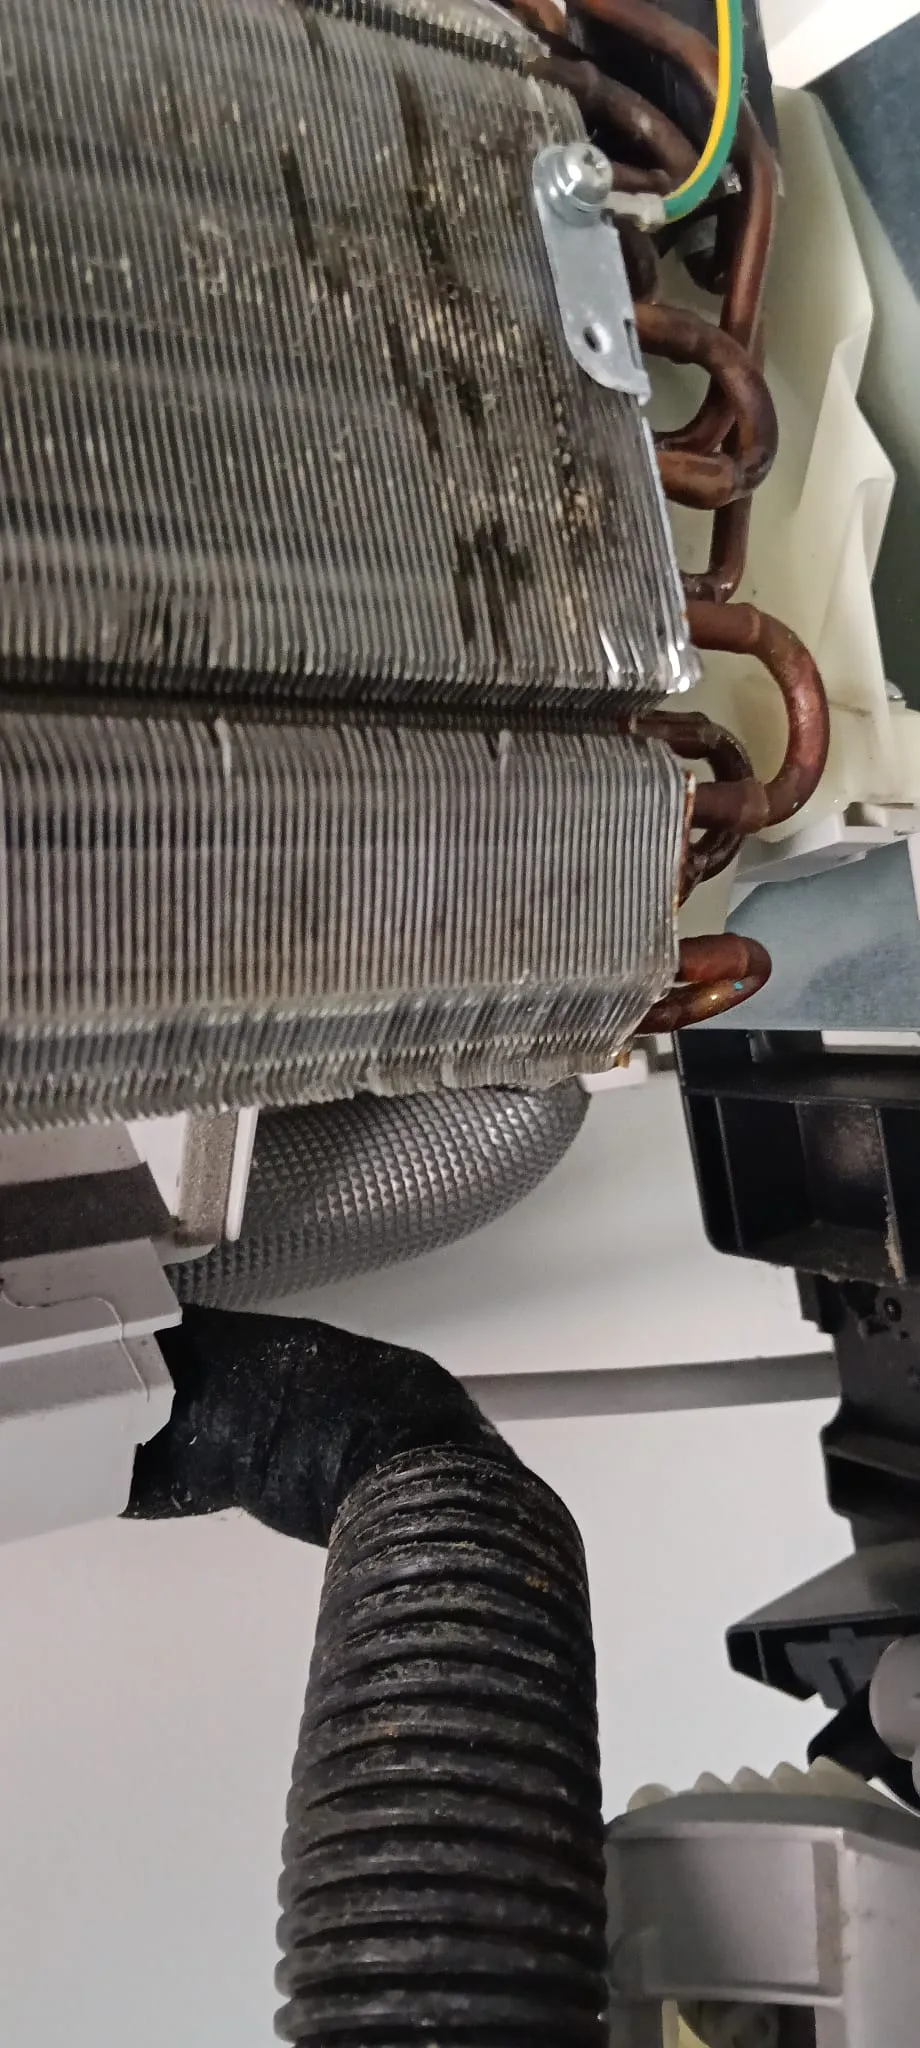
There is a fault we get called out for perhaps once a fortnight, and it is almost always described the same way: the aircon is leaking. Someone has already had the drain flushed, sometimes twice. It did nothing. The water keeps coming back.
It keeps coming back because the water was never in the drain. It is forming on the outside of the copper pipe, inside the plastic casing you can see running along your wall or ceiling, and running downhill until it finds a way out. That is a completely different fault from a blocked drain, it is fixed in a completely different way, and the fastest way to waste money on it is to keep treating it as a drainage problem.
Here is how to tell which one you have, why the pipe sweats in the first place, and what a proper repair actually involves.
Two different kinds of water
An aircon makes water on purpose. Warm humid room air passes over a coil that is well below the dew point, moisture condenses out of it, and that water is collected in a drain pan under the coil and piped away. In Singapore a single hard-working indoor unit can produce a surprising amount of it on a humid afternoon. If that water cannot get away — a drain pipe blocked with slime, a drain line that has lost its fall, a drain pan cracked or sitting out of level after a re-install — it backs up and overflows.
That is drainage water, and it always appears at the indoor unit. It drips from the bottom edge of the casing, usually along the front lip, often in a line rather than a single point. It stains the wall directly under the unit. That is the fault a drain flush fixes, and it is covered under the usual causes of aircon water leaks.
The other kind of water appears away from the unit — halfway along the trunking, at the joint between two lengths of casing, at an elbow where the run turns a corner, at the point where the pipes pass through a wall, or as a slowly spreading brown ring on a false ceiling below where the pipes cross. That water was never in the drain. It condensed on the pipe.
Why a pipe sweats
Two pipes run between your indoor unit and the compressor outside. One is small and carries liquid refrigerant. The other is larger, carries cold gas back to the compressor, and is genuinely cold in operation — cold enough that if you could touch it bare, it would be uncomfortable to hold.
Singapore air is humid enough, almost all year, that any surface that cold will collect water out of the air within minutes. That is why the pipe is wrapped, from the moment it leaves the indoor unit to the moment it reaches the compressor, in closed-cell foam insulation. The insulation is not there for efficiency. It is there so that the cold never reaches a surface that room air can touch.
The insulation only has to fail in one place. Wherever there is a gap, a split, a crushed section or a butt joint that has come apart, cold reaches the outer surface at that point, water forms on it, and gravity does the rest. It runs along the pipe inside the trunking, sometimes for a metre or more, and comes out wherever the casing lets it — which is why the drip is often nowhere near the actual fault.
Where the insulation actually fails
In the runs we open up, the same handful of places come up again and again.
- At the elbows. Foam does not bend around a tight corner without opening on the outside of the curve. If the installer did not fit a proper mitred joint and tape it, there is a slit at every turn.
- At the butt joints. Insulation comes in lengths and has to be joined. A joint that was pushed together and taped over will separate as the tape ages, leaving a ring of bare copper a few millimetres wide — more than enough.
- Under cable ties. Where the two pipes and the drain and the interconnecting cable were bundled together, an over-tightened tie crushes the foam flat. It works for a year or two. Then the foam takes a permanent set and there is effectively no insulation at that point.
- At the wall penetration. The insulation is very often cut short so the bundle fits through the sleeve, leaving a bare section inside the wall itself. That one is invisible and it stains from inside the wall outwards.
- Where the run goes outside. Sun and rain break foam down. On an exposed ledge or an external wall, insulation that was never wrapped or painted is often crumbling by year five.
- After a re-install. This is the big one. When a unit is replaced and the old trunking is kept, new pipes get fed through the existing casing. The foam catches, bunches and tears on the way through, and nobody can see it because the casing goes straight back on.
That last point is worth holding on to if your unit was replaced or relocated. It is also why the piping question matters when you are changing an aircon in an older flat — something we go into in replacing aircon in older HDB flats, and what happens to the copper and trunking.
The five-minute check you can do yourself
You do not need tools for this. You need the aircon running hard and about twenty minutes.
- Set the unit low and let it run. Not fan mode — the compressor has to be working. Twenty minutes, not five.
- Look at where the water actually is. Under the unit itself, or somewhere along the run? If it is only at the unit, stop here — it is drainage.
- Run a dry hand along the underside of the trunking, from the unit outwards. You are feeling for the section that is cold and damp rather than dry. Note where the damp starts, not where it drips — the drip is downstream.
- Check the timing. Turn the aircon off and watch. Drainage overflow keeps running for a while as the pan empties, then stops. Condensation stops forming almost as soon as the pipe warms up, and what is already on the pipe dries. Condensation also does not care what fan speed you use; drainage overflow often gets worse on high.
- Look up. If there is a false ceiling anywhere on the pipe route, look for a ring or a soft patch on the board, and look for it away from the unit. A stain that has a darker ring at the edge has been wetting and drying for months.
If the damp starts partway along the run and stops when the compressor stops, you have a sweating pipe. Flushing the drain again will not change anything.
Why it is worth dealing with rather than living with
A slow drip is easy to ignore, especially if someone has put a cloth under it. Three things make it worth fixing properly.
The board stays wet. Ceiling board and skim coat that are wetted and dried daily for months do not recover. Repainting a condensation stain is one of the more reliable ways to waste an afternoon — it comes back through the new paint within weeks, because the source is still there.
A wet false ceiling grows things. A closed, unventilated ceiling void with a constant water source in it is close to ideal for mould, and you will smell it in the room long before you see it. If your aircon smells musty and servicing has not fixed it, a wet pipe run above the ceiling is worth ruling out — see why your aircon smells musty.
It does not always stay in your unit. Where a run crosses a service duct or a shared void in a condo, the water reaches somewhere that is not yours, and the first you hear about it is a complaint. We have written separately about water dripping onto a neighbour's unit, and in most of those cases the source was pipework, not the drain.
What a proper repair looks like
There are two bad fixes and one real one.
Bad fix one: sealing the trunking. Silicone along the casing joints stops the visible drip and hides the problem. The water is being made inside the casing. Sealing it in means it soaks into the wall or the ceiling instead of onto the floor, and you find out about it later and more expensively.
Bad fix two: wrapping tape or new foam over the outside of the casing. The cold surface is inside. Insulating the outside of the box does nothing about the pipe within it.
The real fix is to take the casing off over the affected length, strip the failed insulation back to sound material on either side, and re-insulate the run continuously — correct wall thickness, butt joints properly closed and taped, mitred and sealed at the elbows, and carried right through the wall sleeve rather than stopping at it. Where cable ties caused it, the bundle is re-tied loosely enough not to crush the foam. Then it is checked along its whole length, because the failure you found is rarely the only one; the same installer, the same age, the same conditions apply to the rest of the run.
Where the run passes through a false ceiling that has been wet for a long time, someone also needs to look at the board itself. Re-insulating the pipe stops the cause; it does not dry out or make safe a ceiling that has been soaking for six months.
What to ask when someone comes to look at it
Three questions separate a diagnosis from a guess.
- "Can you show me where the water is coming from, with the unit running?" Not where it drips — where it starts. That means the trunking comes off at the damp end, not just at the drip.
- "Is the insulation continuous through the wall sleeve and at every elbow?" These are the two places it is normally cut short, and they are the two places nobody checks.
- "Are we re-insulating the whole run or just this bit?" A patch at one gap on a fifteen-year-old run buys you a few months. Ask what the rest of the run looks like once it is open, and get an honest answer before deciding how far to go.
Anything a technician tells you should be visible to you too — which is the general principle behind what your technician should show you before they leave.
What it costs
This is not a servicing job and it is not priced like one. General servicing on this site is published at $55 for a single unit, and a chemical wash starts at $135 — you can see the full list on the pricing page. Re-insulating pipework sits outside all of that, because the cost depends entirely on how long the run is, how much of it is buried in a ceiling or a wall, and whether the casing can be reused. Anyone who quotes you a firm figure for it over the phone, before seeing where your pipes go, is guessing. What is reasonable to expect is a look at the run and a price for the work before it starts.
The short version
Water at the unit is drainage. Water along the run, at a joint, or on the ceiling where the pipes cross is condensation on a pipe whose insulation has failed — usually at an elbow, a butt joint, a crushed cable tie, a wall penetration, or a length that was pushed through old trunking during a re-install. Check it with the compressor running and a dry hand along the trunking. Do not seal the casing and do not repaint the stain until the pipe is fixed, because both hide it rather than solve it. And when it is opened up, deal with the whole run rather than the one gap you found.
Related reading: why an aircon leaks water and how to stop it, water dripping onto a neighbour's unit, and replacing an aircon in an older HDB flat. If it turns out to be a repair rather than a wash, the repair page sets out what we handle.
Not sure which of the two you have? WhatsApp us on 9107 2601 — tell us where the water shows up, whether it stops when the aircon is off, and whether the pipes run through a false ceiling, and we will tell you whether it is a drain job or a pipework job before anyone comes out.
If the water is genuinely coming from the drain rather than from the outside of the pipe, and clearing it has not held, why a drain that keeps choking needs more than another clearing covers what is actually producing the blockage.